Xiaomi’s 10,000mAh Power Bank is one of the best we’ve seen, and not just in a long time – ever. The design language oozes style with an elegant and high portability with aluminum-alloy design, the Xiaomi packs useful capacity and at an extraordinary value. Find out more in our Xiaomi Mi 10,000mAh Power Bank Review.
Xiaomi Mi Power Bank 10400mAh Review: Box Contents
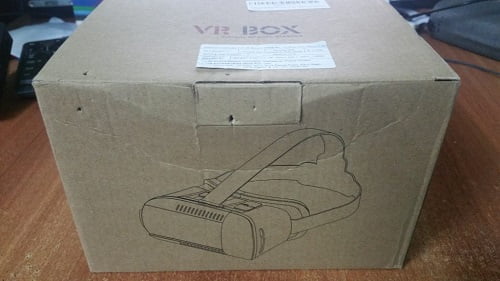
When we first took the Xiaomi power bank out of its box we were confused. Opposed to standard with Xiaomi products (all product info written the writing on the box) this box was pretty bear with only Mi logo on it along with MRP and basic info. on the side (and a weird warning sticker but I hope it is not meant for us).
Inside the box, sits the powerbank itself in all its glory and a good quality short micro USB cable in its own small slot. they supplied a quick setup guide as well which is in English as well as in Chinese, Just In case you don’t know how the power bank works.

Xiaomi Mi 10,000mAh Power Bank Review: Design and build Quality
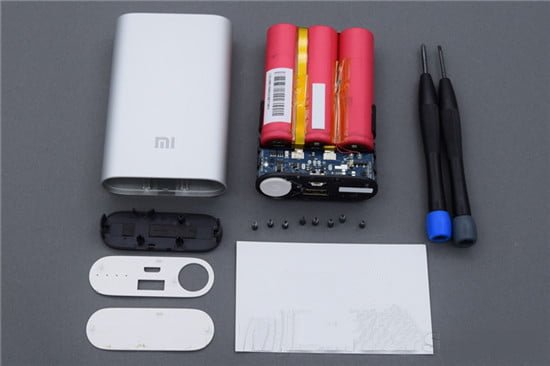
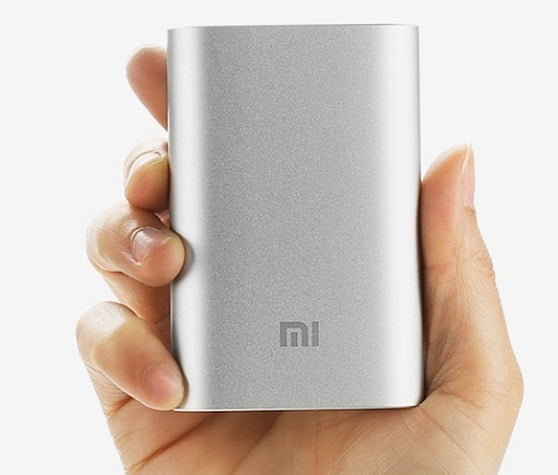
The Mi Power bank have anodized aluminum shell that gives them a premium look and a solid build quality that you don’t expect in power banks in this price range. These have curved corners and have Mi branding on the front. The charging/discharging chips are designed by Texas Instruments and the cell is manufactured by LG or Samsung.
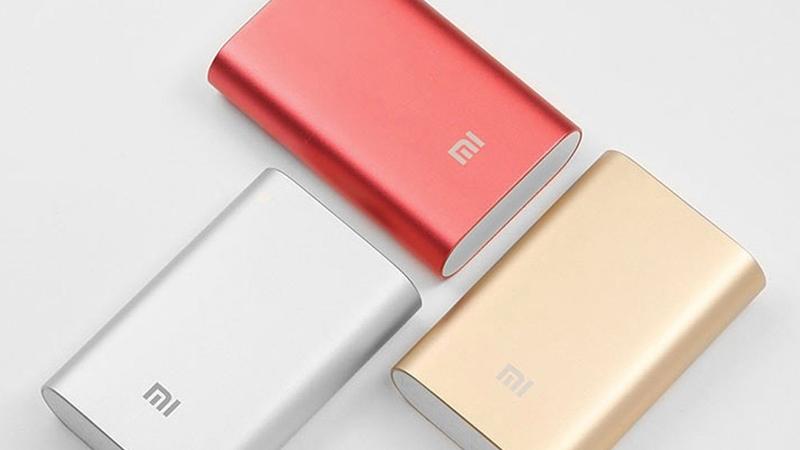
India gets only the silver-colored variant, but in some countries like China it comes in different colors (*sigh* typical Xiaomi.). These feel solid in hand and is quite scratch resistant, but don’t test it. Since it is in silver color, dust and stains are clearly visible. But this power bank is water and corrosion resistant so cleaning it is easy.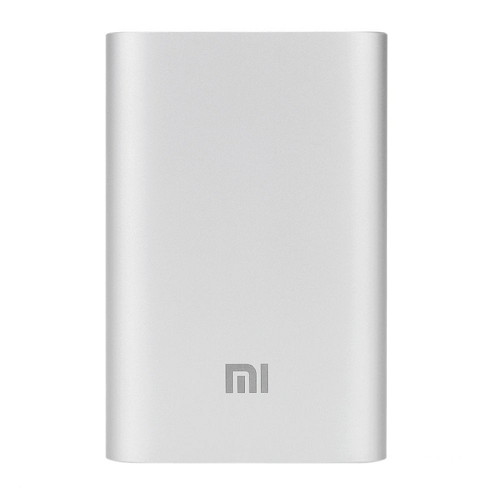
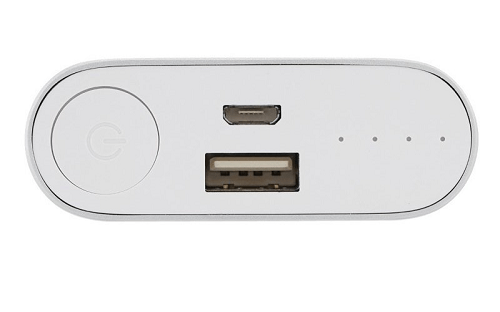
The Mi Power bank have anodized aluminum shell that gives them a premium look and a solid build qualityThe powerbank have LED indicators, standard USB slot, micro USB slot and a button on the top. The 4 LED indicator shows the remaining battery left when you are using and the remaining battery that needs to be charged when it is charging. The LED indicator might be too bright in dark environment. It charges devices immediately when it is connected, pressing the button simply indicates the remaining charge left.
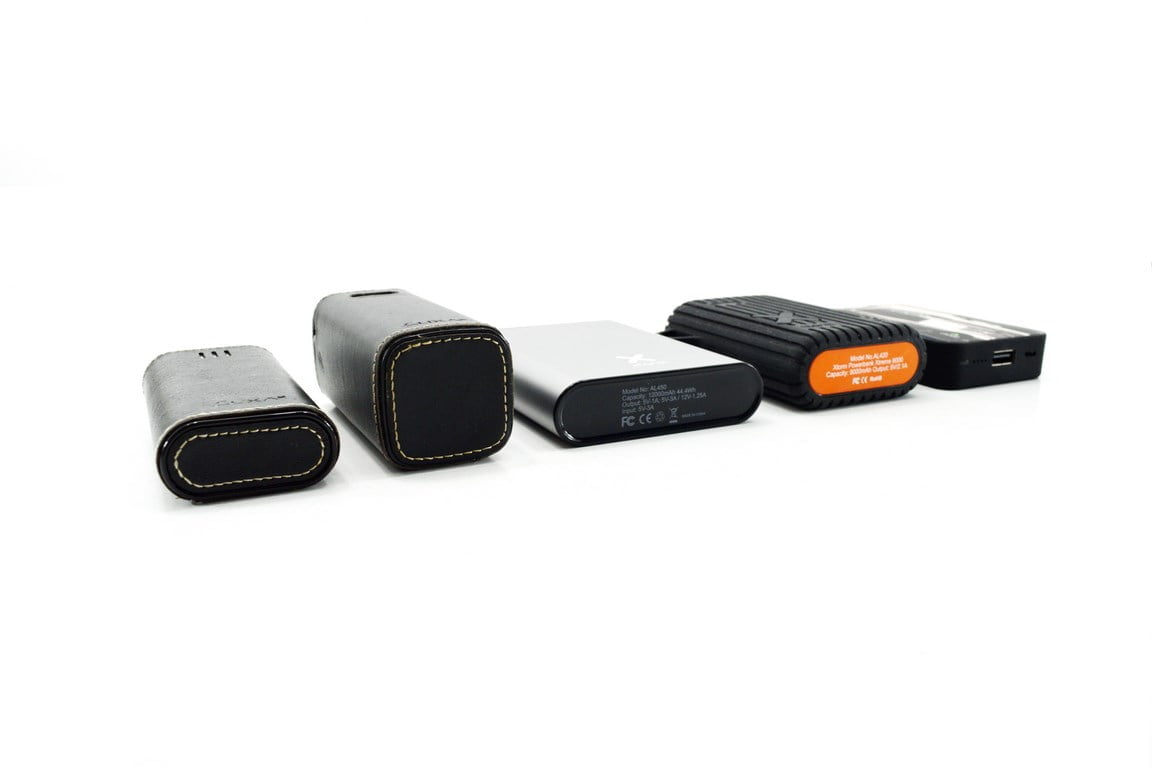
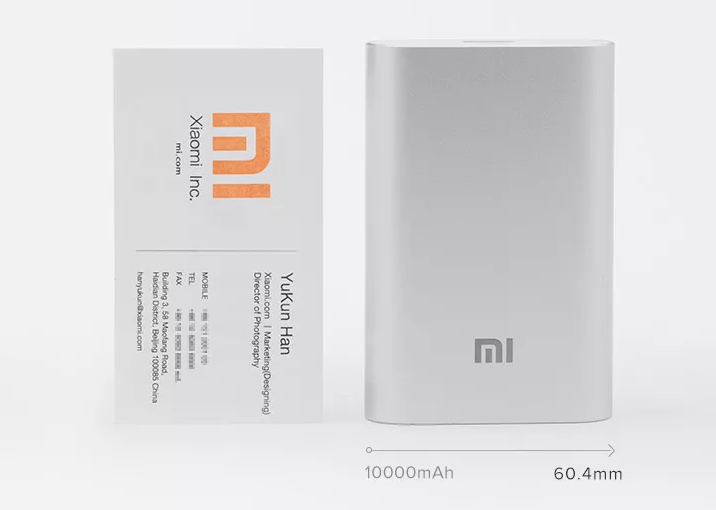
This isn’t the only thing, Xiaomi has taken extra care over in designing its Xiaomi power bank. The fact that Xiaomi has managed to squeeze so much power into such a package means this is the first 10,000mAh power bank we’ve seen that we’d happily slip into a pocket rather than a bag. No power bank makes a better compromise between portability and capacity.
Xiaomi Mi 10,000mAh Power Bank Review: Charging Time, Performance
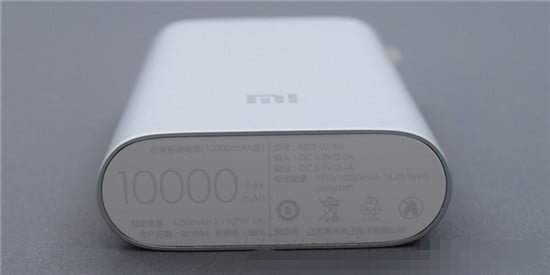
Coming to the performance, This 10000mAh power bank has 2.0A input and 2.1A output, so you can even charge an iPad (or any android tablet). The 10000mAh power bank can charge the Redmi note 3 and 3s prime upto 1.5 times and Samsung Note 4 twice. The power bank charges the devices faster since it offers 2.1A output which is good enough to charge smartphone along with its accessories such as Bluetooth headphones, fitness bands and more as well.
Power loss during voltage conversion is a common problem in power banks, and Xiaomi promises 93% charging conversion rate for the 10000 mAh power bank. It also says that these have been tested to withstand 5,000 MicroUSB insertion or removal cycles and 1500 USB insertion or removal cycles.
These power banks don’t get heated a bit even after hours of usage, compared to most other power banks with metal build. Lack of USB charger in the box is acceptable considering the price tag. Wish the 10000mAh power bank had an additional USB slot to charge another device. These have nine layers of circuit chipset protection (that’s what the company says. And I believe them).
We think Xiaomi has been somewhat over-cautious with this 6250mAh rating in any case. The hardware inside has been optimized for increased efficiency and durability, which Xiaomi claims is up to 93 percent.

These power banks come only with a small USB cable. You need to get a wall charger separately to charge these power banks, Better use a 2A charger since it takes several hours (and several hours’ means more than 6 hours) to charge these power banks with a 1A charger.
Xiaomi Mi 10,000mAh Power Bank Review: Price, Conclusion
Overall, these power banks are highly recommended for the impressive build quality and affordable price tag. And the 10000mAh power bank offers more value for money at just Rs. 1299(which drops to Rs. 999 for seasonal sales), and is a powerful battery pack that can charge even the latest iPad. That being said I think this might be the Best power bank for your phone or tablet