Titanium Backup Complete Introduction
Backup is not the new thing for us. We are using backup feature from our Nokia Era. Nowadays backup is not the only thing which is important. Device must be able to restore data. Backup helps device to recover from a system failure. So, you must backup your important data. There are lot of methods to backup data from your phone, tablet device. You can take backup using Third-Party application. Titanium Backup is one of the top backup application available in the market. It require root access to work. In this guide, we are going to introduce you with Titanium Backup Application.
Why every Android user must try Titanium backup Application?
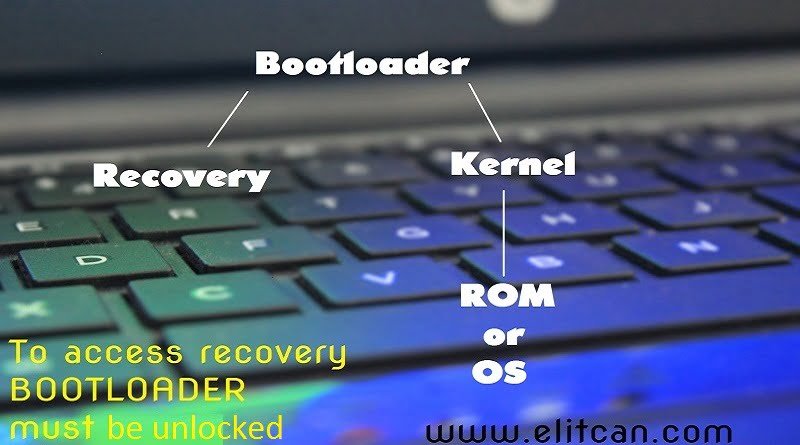
In Android development, We need to backup data every time. It helps us to flash ROM or Recovery on Android device safely. It reduces the bricking possibility of device. There are different ways to take backup on Android phone.
- From Setting Menu
- Using Cloud Service
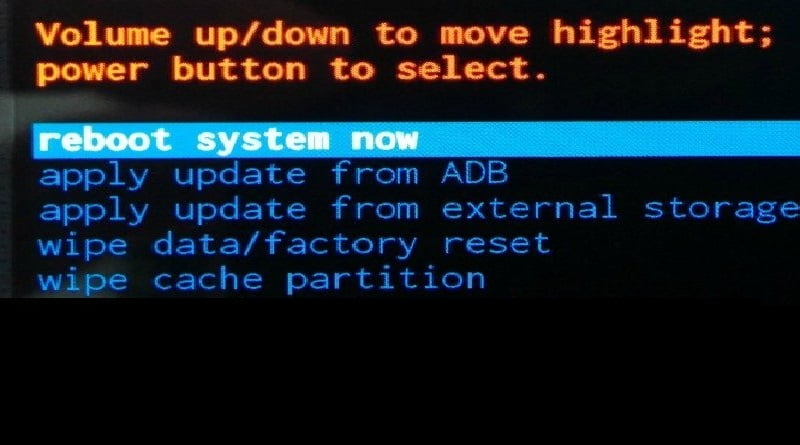
- From Recovery Mode
- Using Third-Party Applications
From above all methods, best way to take backup is to use Third-Party Applications. User can backup and restore data easily using Third-Party applications. Titanium Backup Application comes under this category.
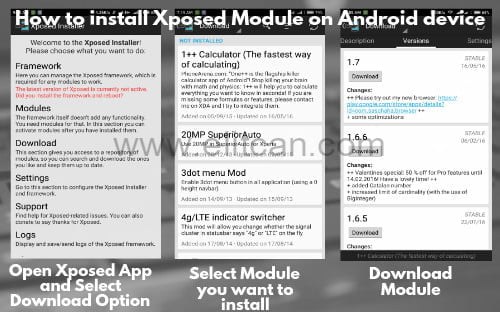
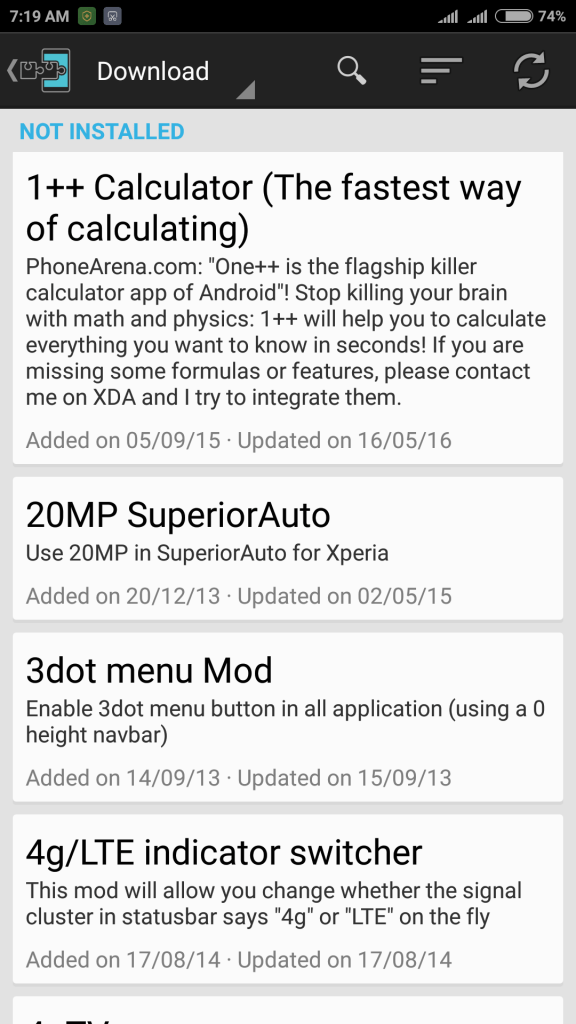
What is Titanium Backup? How to use Titanium Backup on any android phone and tablet device?
Titanium backup is one of the most famous backup application available in the market. Using this application you can backup different types of data. Want to backup game data on android device. Using Titanium backup application user can backup application and game data on the device. This makes you to back up your progress in the game as well. This application is able to restore all your backup data on the device. This features makes Titanium Backup application unique.
Important things to remember,
Titanium Backup require root access to run on Android device.
After flashing ROM, Never attempt to restore system apps or data of another ROM. It will cause serious crashes on the device.
Top 9 things which can be done using Titanium Backup Android Application:
What is the use of Titanium Backup Application?
- Perform Complete backup of device:
- Create a recovery backup (.zip file):
- Scheduled backup:
- Restoring from backup:
- Managing bloatware:
- Move backup files from Phone to PC or PC to Phone:
- Move applications to the SD card:
- Cloud backup feature:
- Send backup files to Google Drive and Drop Box:
Best Review of Titanium Backup Application
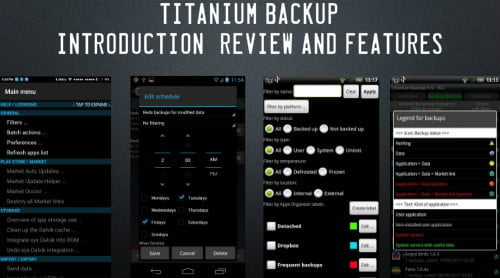
If you want to backup your device then, Titanium Backup is perfect solution for you. It makes quick backup on device. Quickly transfers backup files with PC and Online services like Drive and Drop Box. To use advance features you may need to update app with PRO version. It comes up with two version free and pro version. You can download and install both applications from Google Play Store. This app is designed specifically to take backup of data. It is simple and quick to use Titanium Backup application. New users may feel some issues regarding User interface of application.
It is complicated to understand functions of Titanium Backup. It will be easier to understand working of Titanium Backup application if you have knowledge about Root and Recovery things. It allows you to send backup files to another network easily.
Design and Interface: It has a poor interface. It doesn’t make application worst. After some hands on you will be able to understand each and every feature of app. Most of the features are in Batch Option. It makes interface of batch options somehow crowded. The only drawback that we can see is in interface. Sometimes, you need to do lot of handwork to understand application. As you use Titanium Backup Application more you understand it more and more. There is no reason to avoid use of application only because of interface.
I think Titanium Backup is a perfect backup solution that will appeal to many Android Developers largely.